Creating a thriving garden bed doesn’t have to be complicated or labor-intensive. One innovative method gaining popularity among gardeners is the Lasagna Garden Bed technique. Originating from the concept of layering materials similar to how a lasagna is assembled, this approach offers a simple yet effective way to build nutrient-rich soil beds without the need for extensive digging or tilling. In this article, we’ll delve into the step-by-step process of building your own Lasagna Garden Bed and explore why it’s a fantastic option for both novice and experienced gardeners alike.
Step 1: Choose the Location
The first step in building a Lasagna Garden Bed is selecting an appropriate location. Look for an area that receives ample sunlight, as most garden plants require at least six to eight hours of sunlight per day. Additionally, ensure that the spot has good drainage to prevent waterlogging, which can harm plant roots. Whether you opt for a small raised bed or a larger ground-level plot, ensure it’s easily accessible for planting, watering, and harvesting.
Step 2: Gather Materials
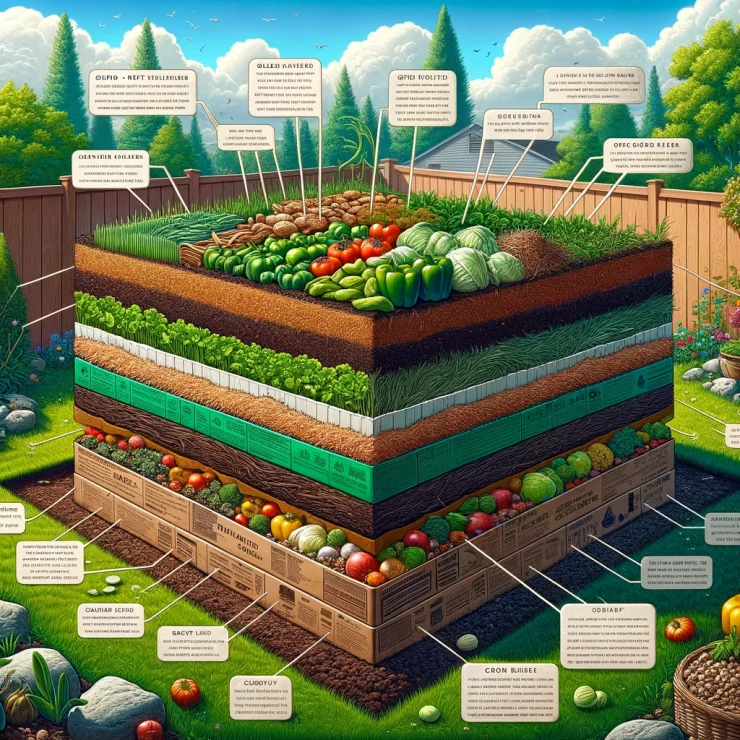
One of the key principles of the Lasagna Garden Bed method is layering organic materials to create nutrient-rich soil. Gather the following materials:
Cardboard or newspaper: Use these as a bottom layer to smother existing vegetation and prevent weeds from growing up into your garden bed.
Brown materials: Collect dry leaves, straw, or shredded newspaper to create the next layer. These materials provide carbon and help balance the nitrogen-rich green materials.
Green materials: Gather kitchen scraps, grass clippings, coffee grounds, and other nitrogen-rich materials to add to your bed. These materials will decompose and provide essential nutrients for your plants.
Compost: If available, add a layer of compost to introduce beneficial microorganisms and further enrich the soil.
Soil: Finally, top off your Lasagna Garden Bed with a layer of high-quality soil or potting mix to provide a fertile growing medium for your plants.
Step 3: Layering
Once you have all your materials ready, it’s time to start layering. Begin by laying down a thick layer of cardboard or several sheets of newspaper over the designated area. This will help suppress weeds and create a barrier between the existing soil and your new garden bed. Next, add alternating layers of brown and green materials, making sure to water each layer lightly as you go to encourage decomposition.
Continue layering until your Lasagna Garden Bed reaches the desired height, typically around 18 to 24 inches. Aim for a balance of brown and green materials to ensure proper decomposition and nutrient release.
Step 4: Planting
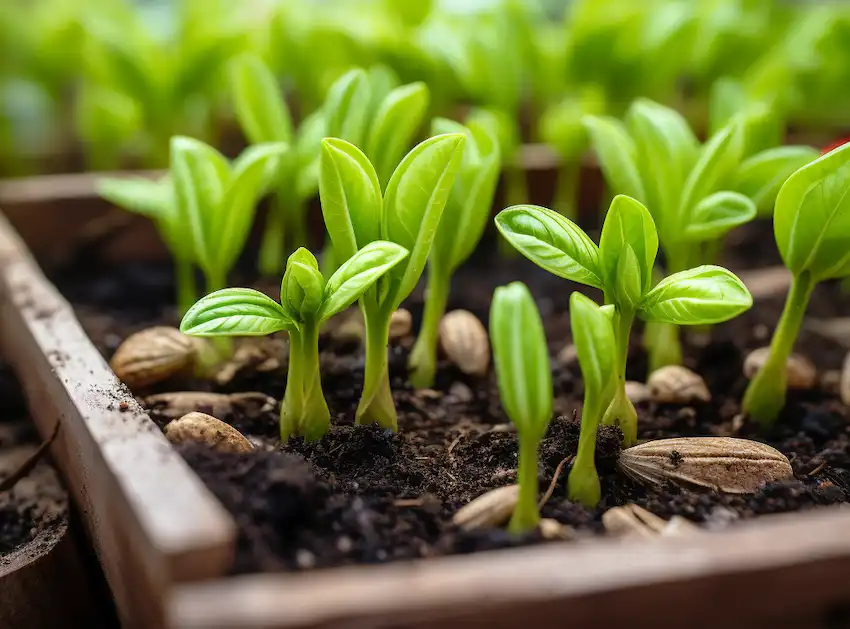
After layering your materials, allow your Lasagna Garden Bed to settle and decompose for a few weeks before planting. During this time, the organic materials will break down, creating a nutrient-rich environment for your plants. Once the bed has settled, you can plant your desired vegetables, herbs, flowers, or other plants directly into the soil.
Step 5: Maintenance
Maintaining a Lasagna Garden Bed is relatively low-maintenance compared to traditional gardening methods. Water your plants regularly, especially during dry spells, and keep an eye out for any weeds that may emerge. As the organic materials continue to decompose, you may need to add additional layers of compost or mulch to replenish nutrients and maintain soil moisture.
Building a Lasagna Garden Bed is a fantastic way to create a productive and sustainable garden space with minimal effort. By layering organic materials, you can enrich the soil, suppress weeds, and provide a healthy environment for your plants to thrive. Whether you’re a beginner looking to start your first garden or an experienced gardener seeking a new approach, consider giving the Lasagna Garden Bed method a try for a bountiful harvest and a healthier garden ecosystem.