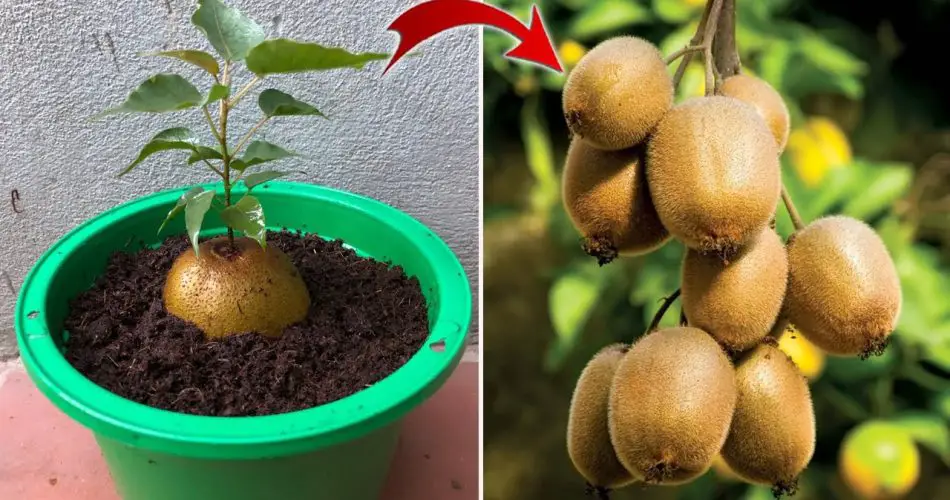
In the world of gardening, some of the best-kept secrets pass through generations, whispered from the wise to the eager novice with a reverence for nature’s intricacies. One such gem, gleaned from the treasure trove of grandmotherly wisdom, is the use of yeast in the garden. This humble kitchen staple, known for its leavening power, holds miraculous benefits for plants, acting as a natural fertilizer, growth enhancer, and soil improver. This article delves into the why and how of incorporating yeast into your garden care regimen, backed by detailed steps to guide you through this transformative process.
Why Use Yeast in Your Garden?
Yeast, specifically baker’s yeast, is a powerhouse of beneficial nutrients, including vitamins, amino acids, and minerals such as potassium, phosphorus, and nitrogen—elements vital for healthy plant growth. When introduced to the garden, yeast can:
- Boost Plant Growth: Yeast stimulates root development and enhances plant growth by providing essential nutrients and improving nutrient uptake.
- Enhance Soil Quality: It improves soil structure and increases microbial activity, which aids in decomposing organic matter and making nutrients more available to plants.
- Strengthen Plant Immunity: The natural compounds in yeast help bolster plants’ defense mechanisms, making them more resilient to diseases and pests.
- Eco-Friendly Solution: Using yeast as a fertilizer reduces the need for chemical fertilizers, promoting a more sustainable and environmentally friendly gardening approach.
How to Use Yeast in Your Garden: A Step-by-Step Guide
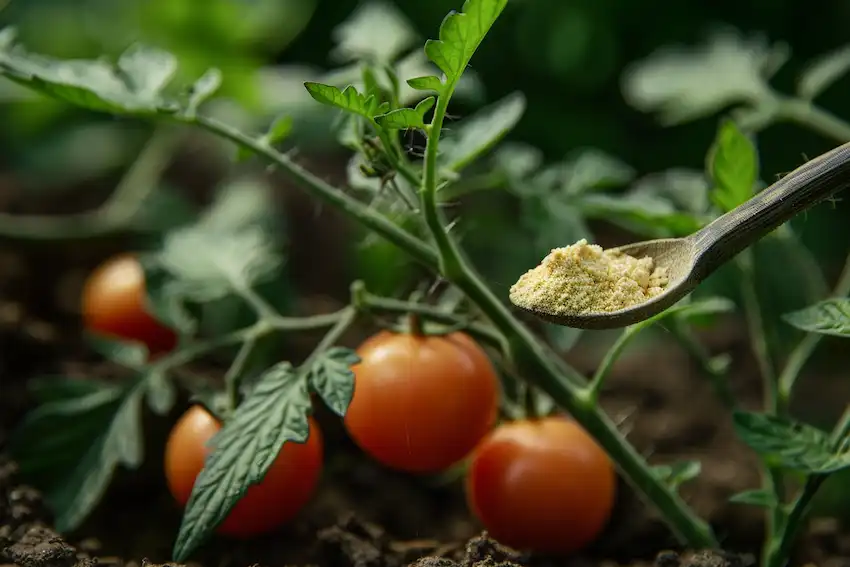
Creating a yeast solution for your garden is simple and cost-effective. Here’s how to make and apply it:
Ingredients:
- 1 tablespoon of dry baker’s yeast
- 1 teaspoon of sugar (to feed the yeast)
- 2 liters of warm water (not hot, as high temperatures can kill the yeast)
- A large container or bucket
Instructions:
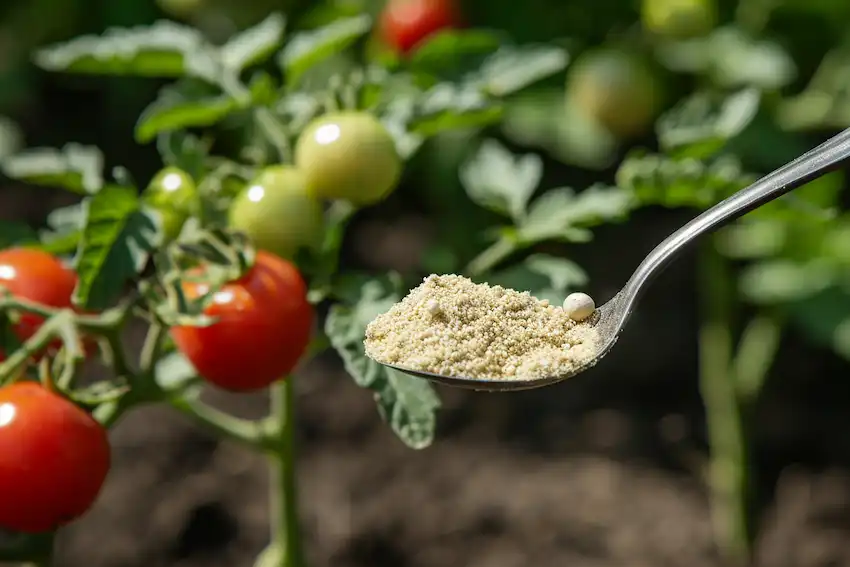
- Activate the Yeast: In a small bowl, dissolve the sugar in a half cup of warm water. Add the dry yeast, stir gently, and let it sit for 10-15 minutes until it becomes frothy, indicating that the yeast is active.
- Prepare the Yeast Solution: Pour the activated yeast mixture into the large container or bucket. Add the remaining warm water, stirring gently to combine.
- Application: Water your plants with the yeast solution, focusing on the base of the plants to ensure the roots can absorb the nutrients. For best results, use immediately after preparation, as the active compounds in yeast are most potent when fresh.
- Frequency: Apply the yeast solution to your garden every 2-3 weeks during the growing season to support and enhance plant growth.
Safety and Considerations
While yeast is natural and beneficial, it’s important to use it judiciously:
- Avoid overuse, as too much yeast can disrupt soil balance and potentially harm plant roots.
- Monitor your plants for any adverse reactions and adjust the frequency of application as needed.
Incorporating yeast into your gardening practice heeds the wisdom of generations, tapping into nature’s bounty to nurture your garden. This simple, yet profoundly effective method champions sustainable gardening, encouraging a harmonious relationship with the earth. By following the steps outlined, you can unlock the potential of yeast, transforming your garden with the vitality and resilience imparted by this unsung hero of the natural world. So, the next time you knead dough in your kitchen, remember that yeast’s magic extends far beyond the oven, rooting deep into the heart of your garden.
Inspired by this? Share the article with your friends!