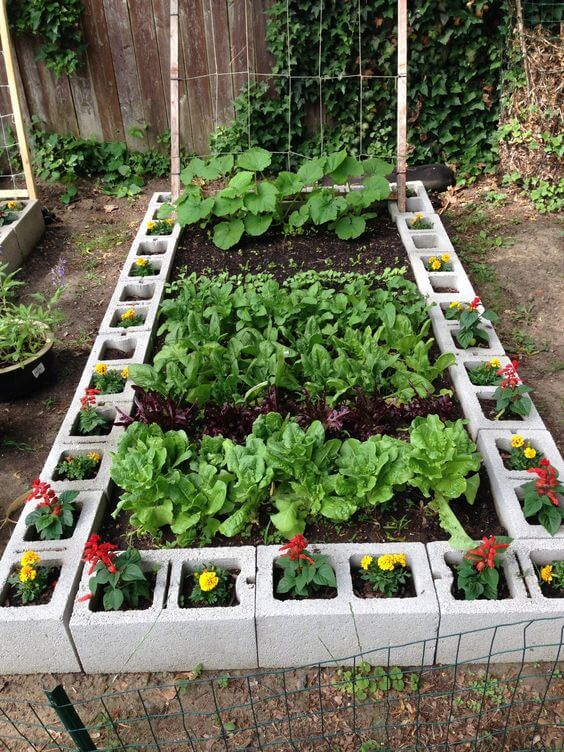
In the realm of gardening trends, one method has recently captured the imagination of plant enthusiasts worldwide: growing celery in pots. With the promise of a virtually endless supply of crisp, flavorful stalks right at your fingertips, it’s no wonder that this innovative approach has been sweeping the internet. If you’re eager to join the ranks of celery cultivators and bid farewell to store-bought bunches, then buckle up as we unveil the secrets to cultivating celery in pots like a pro!
The Appeal of Pot-Grown Celery
What makes pot-grown celery so appealing? For starters, it offers a convenient solution for those with limited garden space or no outdoor garden at all. By harnessing the power of pots and containers, anyone can cultivate this versatile vegetable right on their balcony, patio, or windowsill. Plus, homegrown celery boasts unbeatable freshness and flavor, free from the pesticides and preservatives often found in store-bought produce.
Step-by-Step Guide to Growing Celery in a Pot
- Choose the Right Pot: Opt for a deep, spacious container that allows ample room for celery roots to grow. A pot with drainage holes at the bottom is essential to prevent waterlogging.
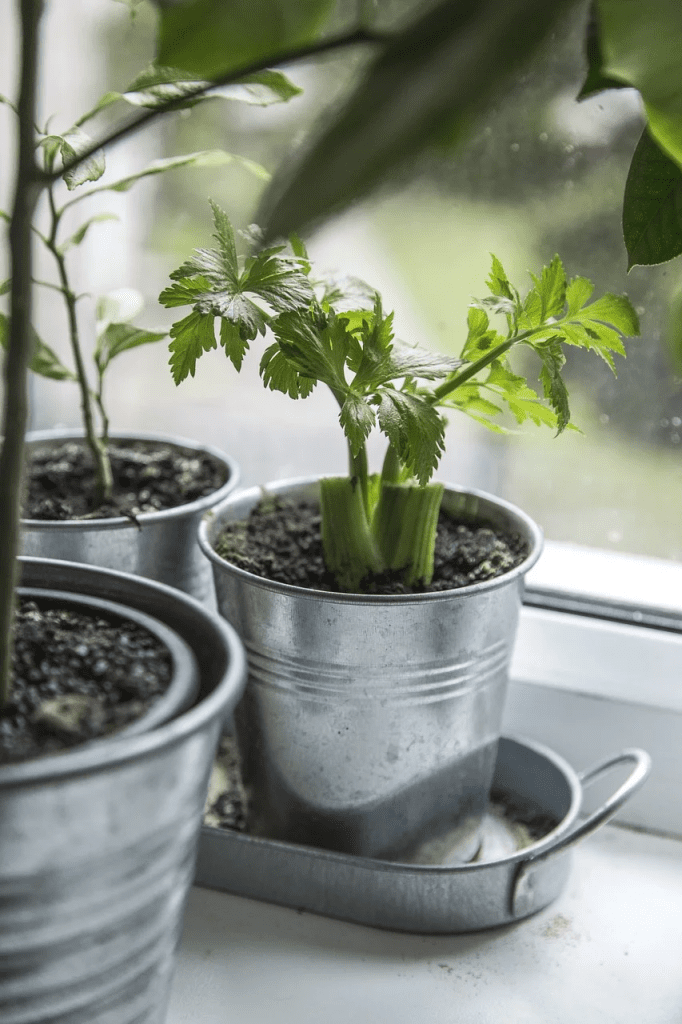
- Select Quality Celery Crowns: Purchase celery crowns (also known as celery hearts) from your local grocery store or farmers’ market. Look for crowns with firm, healthy stems and plenty of leaves attached.
- Prepare the Potting Mix: Fill the pot with a nutrient-rich potting mix, ideally one formulated for vegetables or herbs. Ensure the soil is well-draining yet moisture-retentive to support healthy celery growth.
- Plant the Celery Crowns: Gently nestle the celery crowns into the potting mix, leaving the leafy tops exposed above the soil surface. Space multiple crowns several inches apart to prevent overcrowding.
- Provide Adequate Sunlight: Place the pot in a sunny location where the celery will receive at least 6-8 hours of sunlight per day. If natural light is limited, consider supplementing with a grow light to ensure optimal growth.
- Water Regularly: Keep the potting mix consistently moist but not waterlogged. Water the celery whenever the top inch of soil feels dry to the touch, aiming to maintain even moisture levels throughout the growing season.
- Fertilize as Needed: Celery is a heavy feeder and benefits from regular feeding with a balanced fertilizer. Apply a liquid fertilizer diluted to half strength every 2-3 weeks during the growing season to promote robust growth.
- Harvest with Care: As the celery plants mature, you can begin harvesting outer stalks as needed for fresh use in salads, soups, and snacks. Snip the stalks close to the base of the plant, taking care not to damage neighboring stems.
- Regrow from Cuttings: After harvesting, don’t discard the celery crowns! With proper care, they can regrow new stalks for future harvests. Simply trim the base of the crown and place it in a shallow dish of water, changing the water daily. Once new roots and leaves emerge, transplant the cutting back into the potting mix to continue growing.
Embrace the Joy of Homegrown Celery
By following these simple steps, you can embark on a journey of growing endless celery right in the comfort of your home. Whether you’re a seasoned gardener or a novice enthusiast, the allure of pot-grown celery beckons with the promise of fresh, flavorful stalks at your fingertips year-round. So why wait? Join the celery revolution today and savor the satisfaction of cultivating your own supply of this beloved vegetable, one pot at a time!